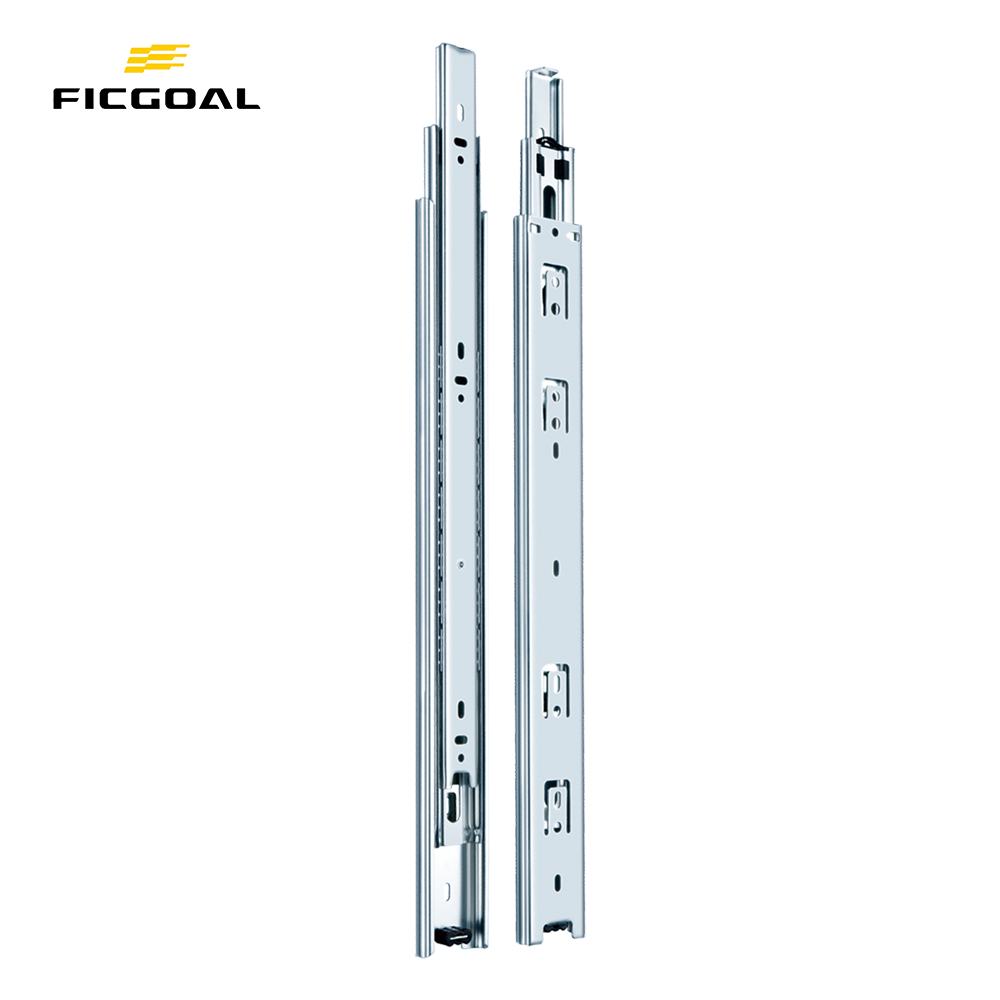
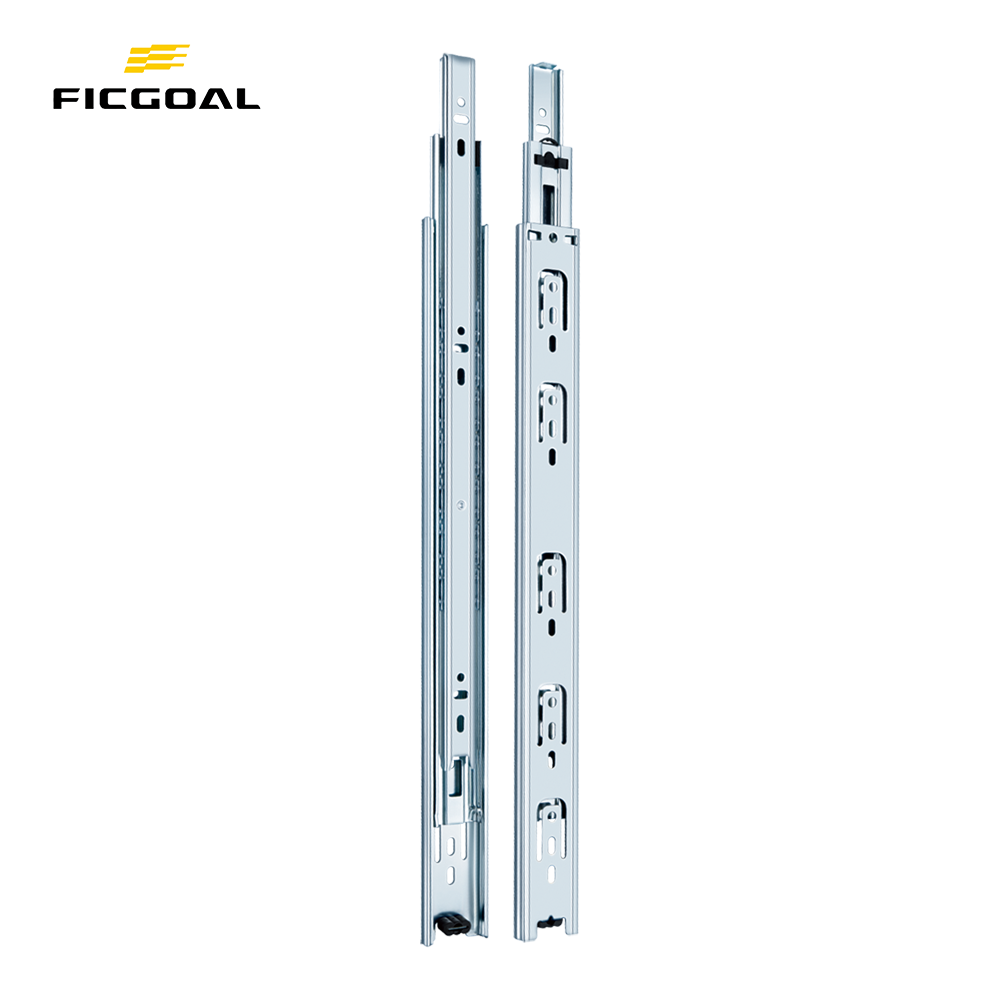
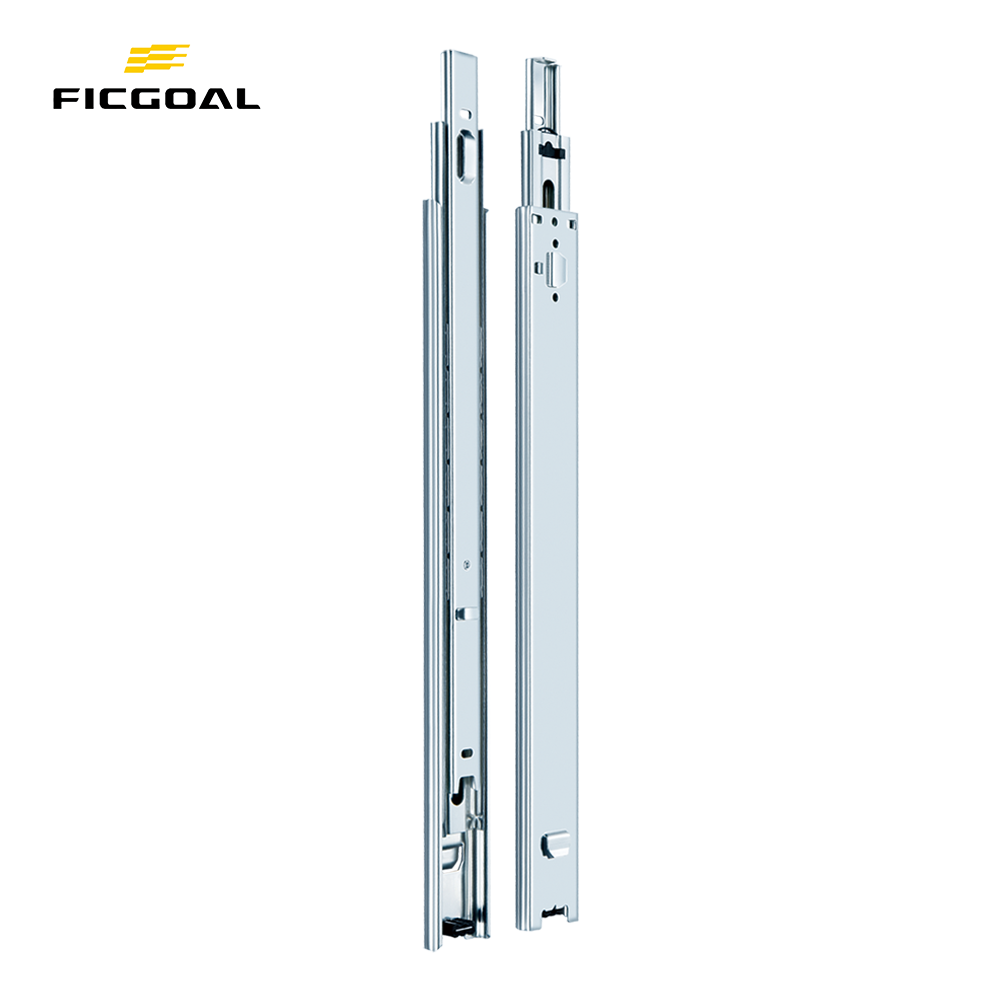
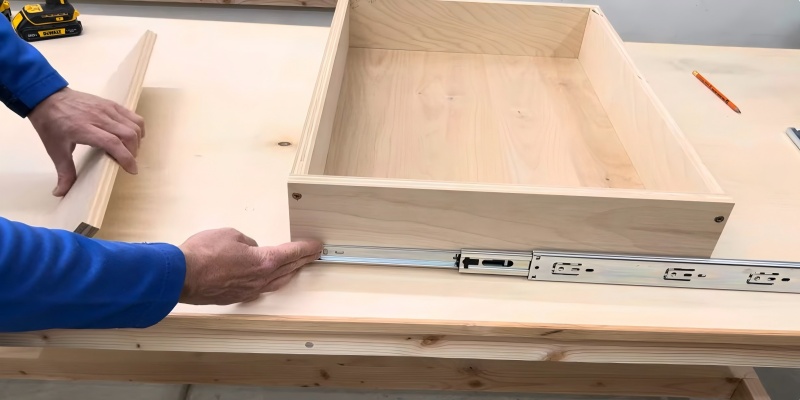
 Image1 Side-mount drawer slides exploded view showing cabinet member vs drawer member
Why Drawer Slide Installation Matters
Tools You Actually Need
- Side-mount drawer slides (length = drawer side minus ½ in)
- #8 screws
- Drill + ⅛ in bit
- Level, tape, pencil
- Spacer block the thickness of your drawer face
Step 1 – Know the Two Halves
Every side-mount drawer slide has a cabinet member and a drawer member. Mix them up and the lever won’t click. Label each half before you install drawer slides or you’ll be drilling new holes twice.
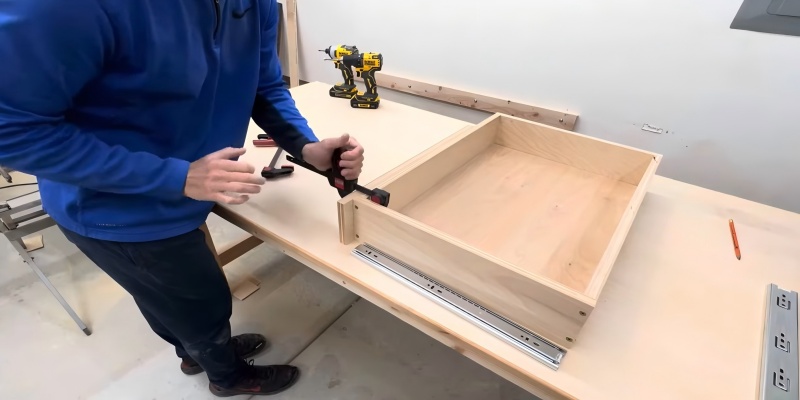 Image2 Clamping drawer member exactly 1 inch behind drawer front before you install drawer slides
Step 2 – Mount the Drawer Member
Step 3 – Pop the Lever
Press the plastic tab to detach the drawer half. Now you can install the cabinet member without the drawer flopping around like a cat in a bathtub. Re-attach after the cabinet half is locked.
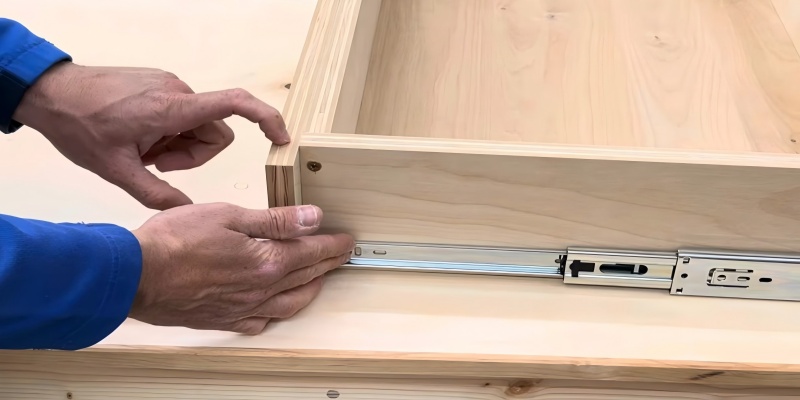 Image3 Spacer block method for perfect inset drawer slide installation
Step 4 – Use a Spacer Block for Inset Faces
Clamp a dummy front to the cabinet. Rest the cabinet member on the spacer so the drawer slides sit exactly where the real face will live. This trick guarantees flush, gap-free drawer slide installation every time.
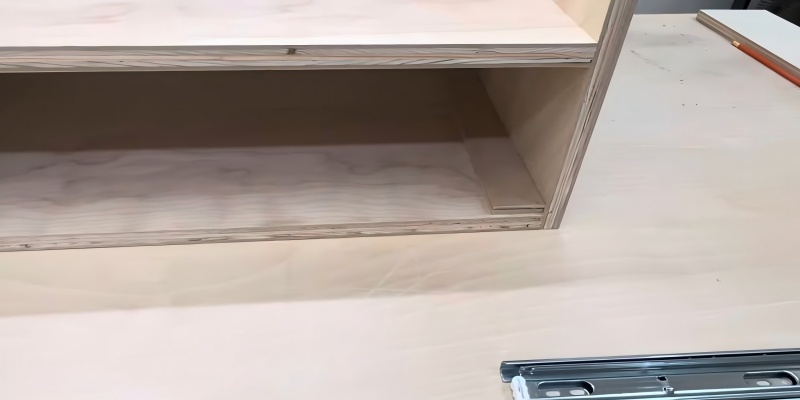 Image4 Leveling side-mount drawer slides ensures soft close every time
Step 5 – Level, Screw, Test
Butt the cabinet member to the spacer, level it, and sink one screw in the front horizontal slot. Check level again, then add rear and middle screws. Slide the drawer half on and test. Smooth? Tighten every screw. Rough? Nudge the drawer slides sideways in the slots until the reveal is razor-line perfect.
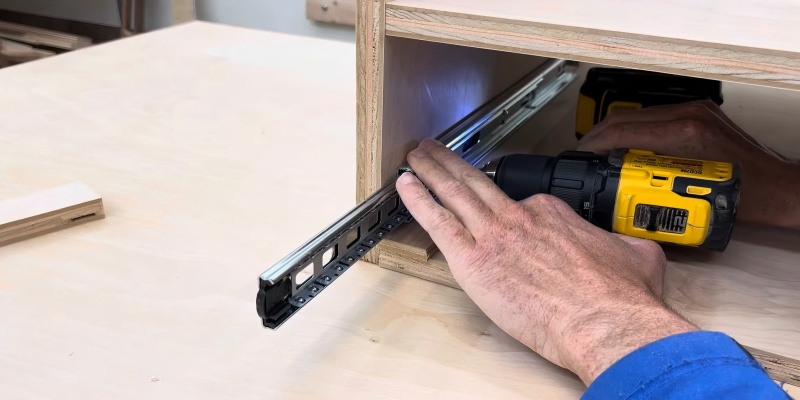 Image5 Row of drawers with flawless drawer slide installation gap line
Pro Tips for Side-Mount Drawer Slides
- Use a level on every drawer slide installation—gravity never sleeps.
- Keep screws loose until final test.
- Buy full-extension soft-close side-mount drawer slides; the up-charge beats callback rage.
- Batch-drill spacer blocks so every drawer slides sit at identical height.
Face-Palm Mistakes When You Install Drawer Slides
❌ Skipping spacer blocks—inset faces end up proud.
❌ Overtightening screws—particleboard blows out and you’re relocating holes.
❌ Ignoring level—drawer slides tilt, drawer screeches, beer spills.
Quick Recap on How to Install Drawer Slides
- Identify halves.
- Screw drawer member to drawer.
- Detach lever.
- Space and level cabinet member.
- Test, tweak, tighten.
Still Need Slides?
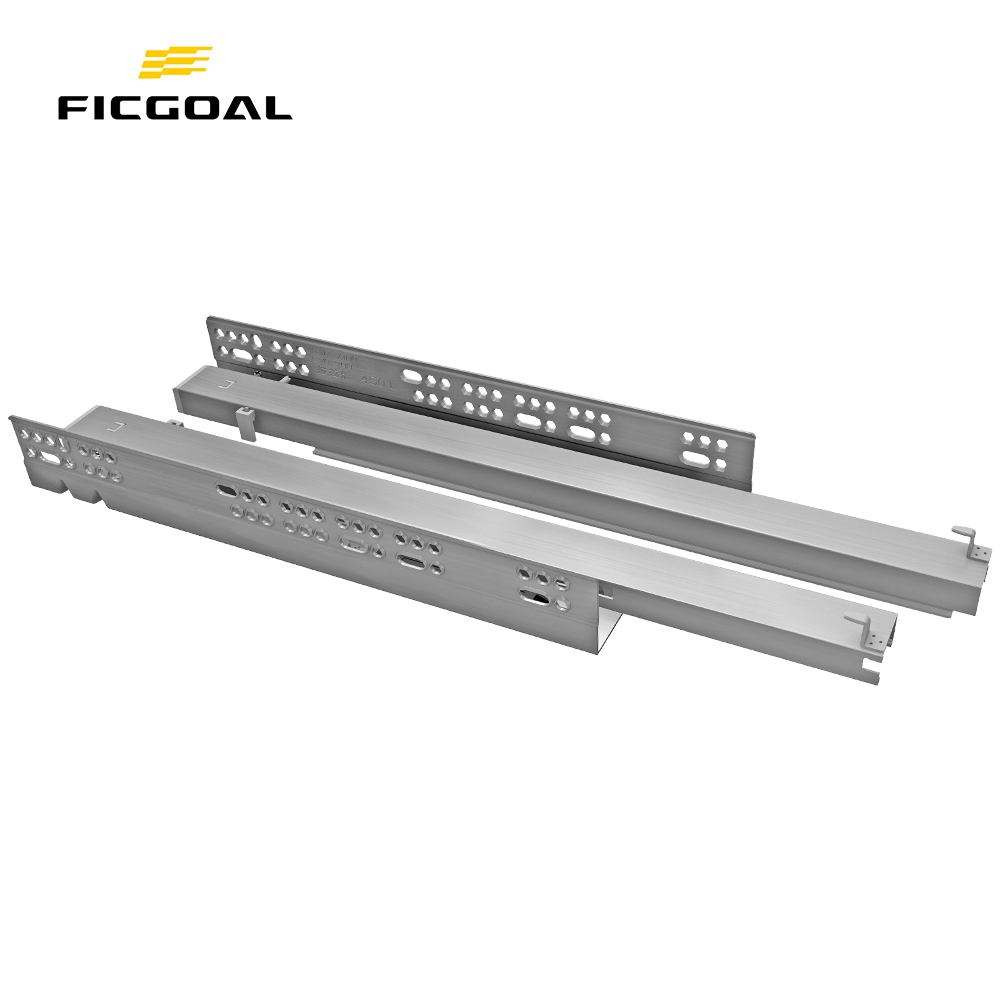
Grab a ten-pack of Ficgoal side-mount drawer slides—100 lb rating, soft-close cylinders, zinc plate that laughs at steam. Once you install drawer slides that good, you’ll never go back to bargain junk.
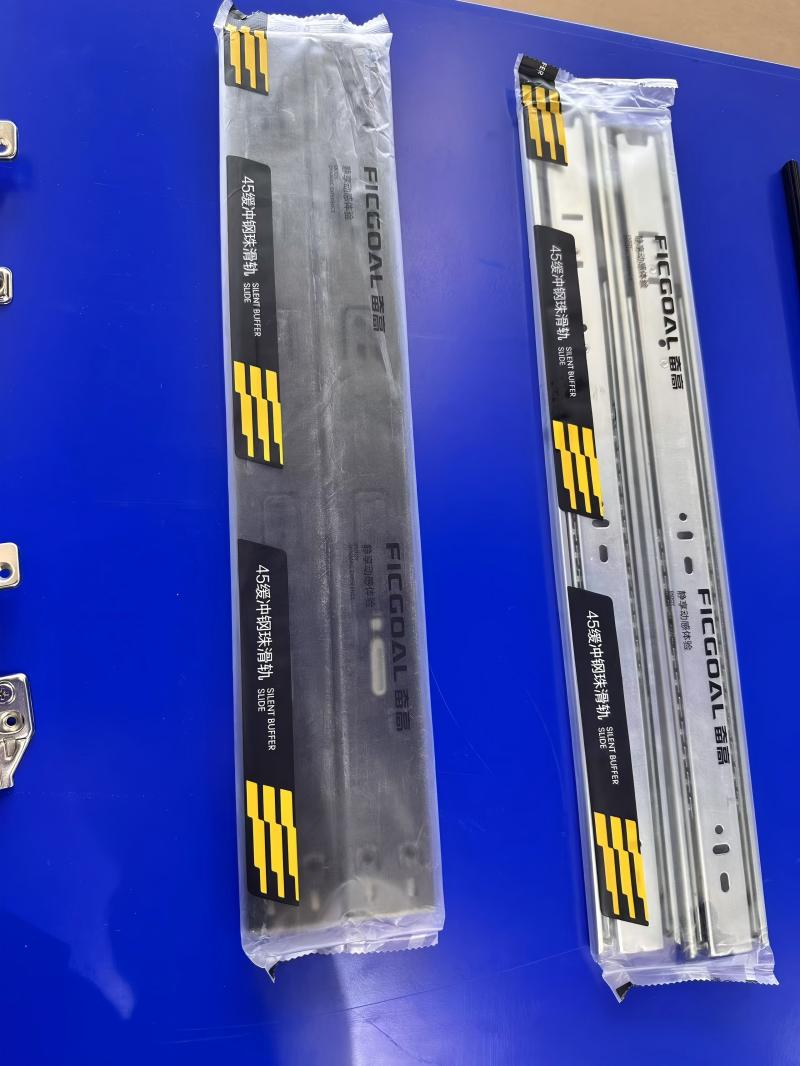 Image6 Ficgoal heavy duty side-mount drawer slides kit for professional install


