Why Undermount Drawer Slides Beat Side-Mount Ones for Cabinets?
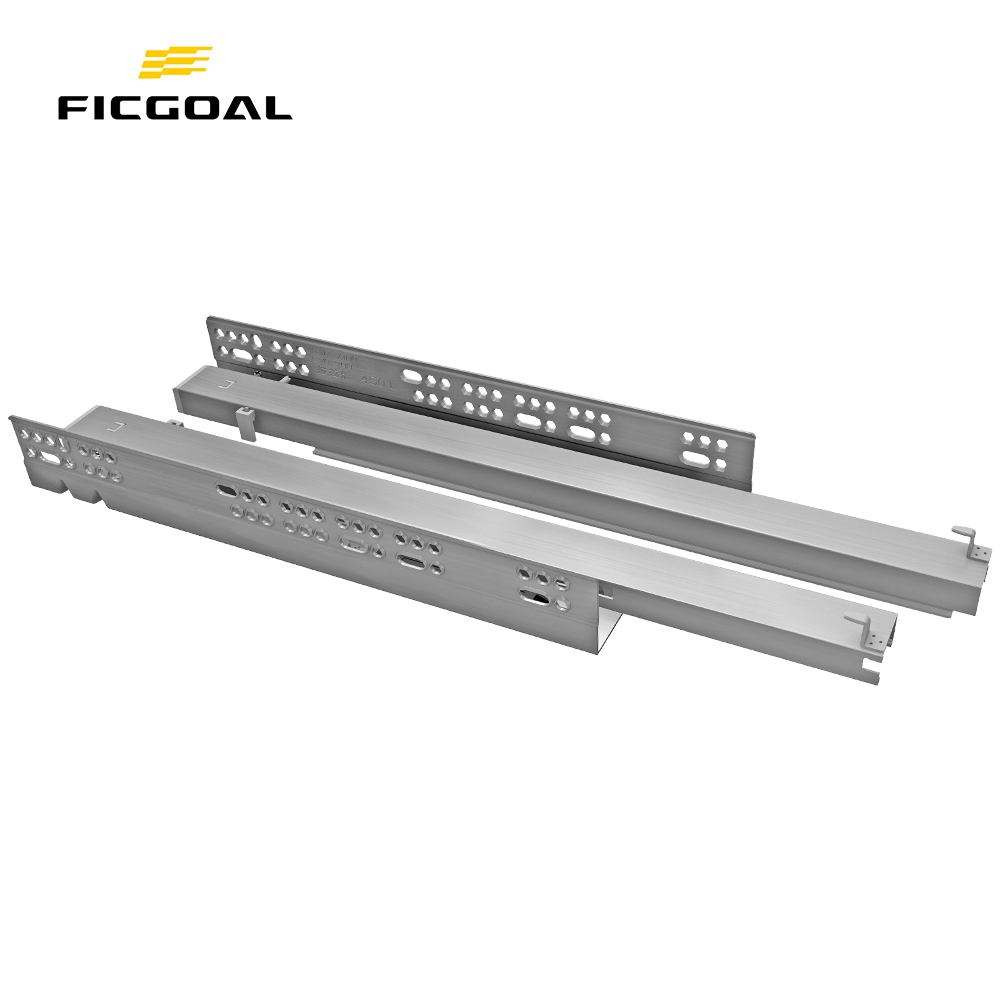
Undermount drawer slides stay hidden underneath drawer boxes, offering a clean look that side-mount slides can’t match—side-mount options are visible on cabinet drawer sides, ruining the minimalist vibe of modern cabinets. What’s more, undermount drawer slides boast higher load capacity, making them ideal for heavy items like pots and pans in kitchen cabinets, while their soft-close mechanism prevents drawer box slamming and extends cabinet lifespan. Side-mount slides work for budget or light-use cabinet projects, but undermount drawer slides are the go-to for high-quality cabinet builds that prioritize both function and aesthetics.
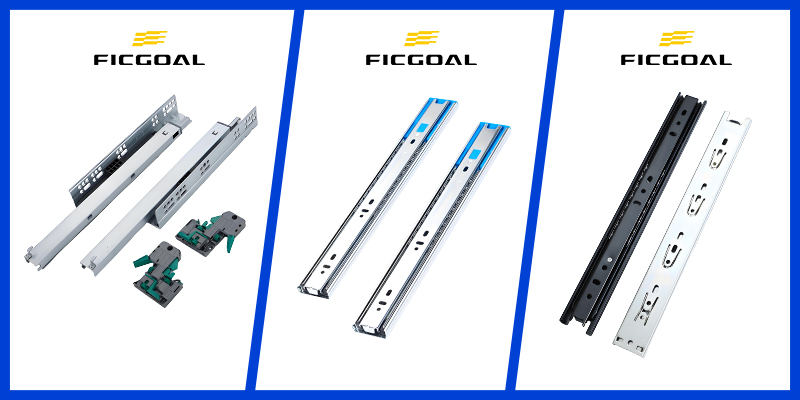
Preparations for Drawer Box and Undermount Drawer Slide Installation
Essential Tools & Materials for Cabinet Projects
Tools: Bloom undermount drill jig (critical for precise undermount drawer slide installation), tracksaw (for cutting plywood), table saw, miter saw, edge bander, self-centering bit, brad nailer.
Materials: 18mm UV-coated maple plywood (primary material for drawer boxes), ½mm maple edge banding, shellac, #6 x 5/8-inch screws (for undermount drawer slides and front clips), #8 x 5/8-inch screws (for drawer box assembly), 100lb-rated Bloom undermount drawer slides (ideal for heavy cabinet loads).
Key Measurements for Drawer Boxes and Cabinets
For 24-inch deep base cabinets, craft 21-inch (533mm) deep drawer boxes to leave adequate breathing room at the cabinet backend.
Calculate drawer box width by subtracting 49mm from the cabinet opening width (e.g., 152mm cabinet opening → 128mm drawer box, with a 24mm top gap to prevent jamming in cabinets).
Mark a 3mm setback line inside the cabinet for overlay drawer fronts—this ensures proper alignment of undermount drawer slides.
Step 1: Install Undermount Drawer Slides in Cabinets
First, mark the 3mm setback line on the interior of your cabinet. Clamp the labeled “L/R” undermount drawer slides to this line, as correct orientation is key for cabinet functionality. Use a self-centering bit to pre-drill holes, then secure each undermount drawer slide with 5 staggered screws—avoid over-tightening to prevent damage to the cabinet. For multi-drawer cabinet projects, use the Bloom jig to drill rear pin holes efficiently, ensuring consistent undermount drawer slide placement.
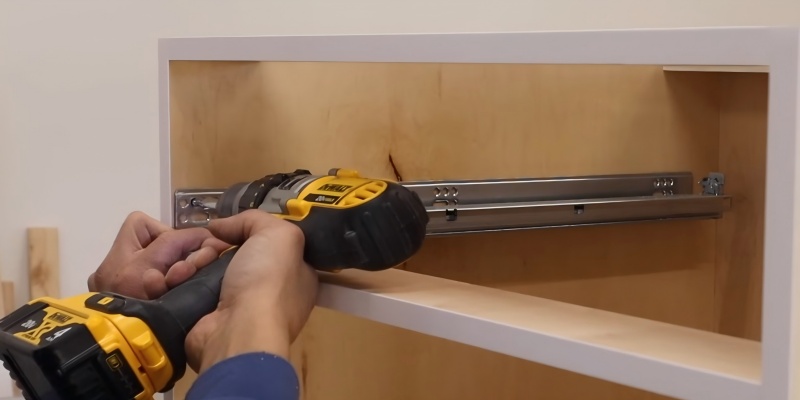
Step 2: Build Sturdy Drawer Boxes for Cabinets
Cut & Finish Plywood for Drawer Boxes
Start by cutting maple plywood with a tracksaw for clean initial cuts, then use a miter saw with a 533mm stop block for precise drawer box components. Apply maple edge banding to drawer box pieces, trim excess, and seal with shellac to match the cabinet’s finish. Clearly mark drawer box pieces for groove positions (13mm from the bottom, where the drawer box bottom will sit) and pocket screw spots to avoid assembly errors.
Cut Grooves & Assemble Drawer Boxes
Set your table saw to 9mm depth and 13mm fence to cut bottom grooves in drawer box sides, fronts, and backs. Trim the back piece above the groove to avoid encapsulating the drawer box bottom—this allows easy replacement later and eliminates the need for notching around undermount drawer slides in cabinets. Clamp drawer box sides to fronts and backs, secure with brad nails and screws (no glue required for durable drawer box construction), then slide the plywood bottom into the groove and fasten it to the back with #8 screws.
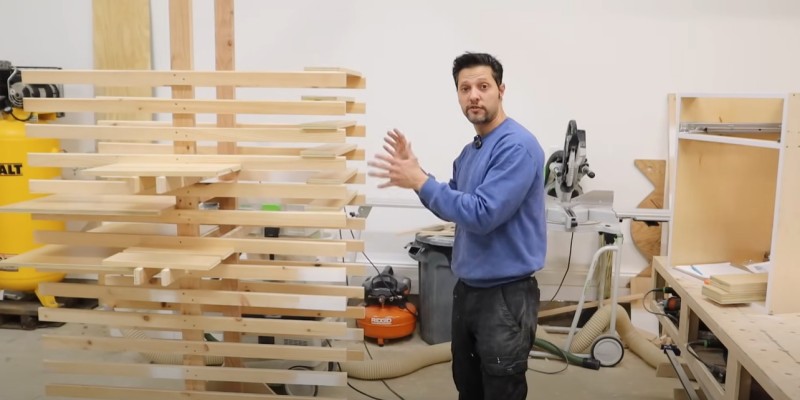
Step 3: Attach Drawer Boxes to Undermount Drawer Slides & Test Cabinet Functionality
Flip the completed drawer box upside down and use the Bloom jig to drill 6mm holes for the rear pins of the undermount drawer slides—this guarantees perfect alignment with the cabinet-installed slides. Attach labeled front clips to the drawer box corners using #6 screws, ensuring they’re flush for seamless engagement with undermount drawer slides. Align the drawer box with the cabinet’s undermount drawer slides, push until the clips click into place, then test the drawer box for smooth full extension and reliable soft-close. Adjust the undermount drawer slides as needed to ensure optimal cabinet performance.
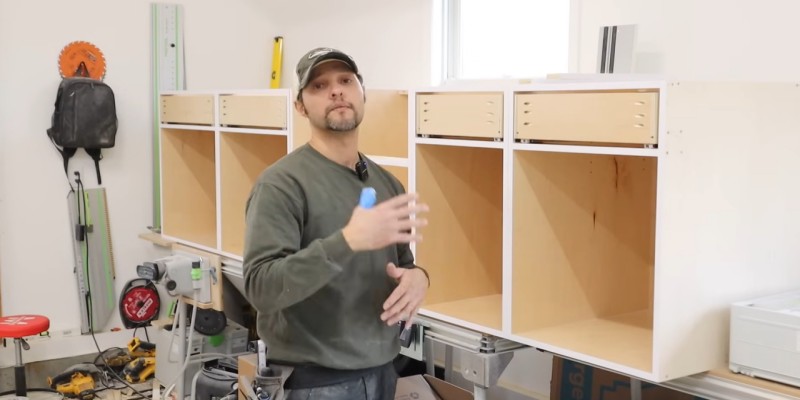
Pro Tips for Cabinet Drawer Box and Undermount Drawer Slide Success
Label hardware bins to keep undermount drawer slide-specific screws organized—this saves time during cabinet installation.
Mark all drawer box pieces clearly to prevent mix-ups when assembling multiple cabinet drawers.
Stick to consistent measurements (metric preferred) to ensure uniform drawer boxes that fit perfectly in your cabinets.
With these steps, you’ll create professional-quality drawer boxes and master undermount drawer slide installation for your cabinet projects. Check our kitchen build playlist for more cabinet craftsmanship tips, and find links to essential tools in the description.


