Intro
Prep is non-negotiable for a smooth drawer slides install and a successful cabinet upgrade. Vacuum crumbs from the cabinet carcass, check if it’s square with a tape measure, and mark a center-line 1⁄16" behind the face-frame. Pre-drill hardwood to avoid splitting—this tiny step cuts cabinet upgrade time in half.
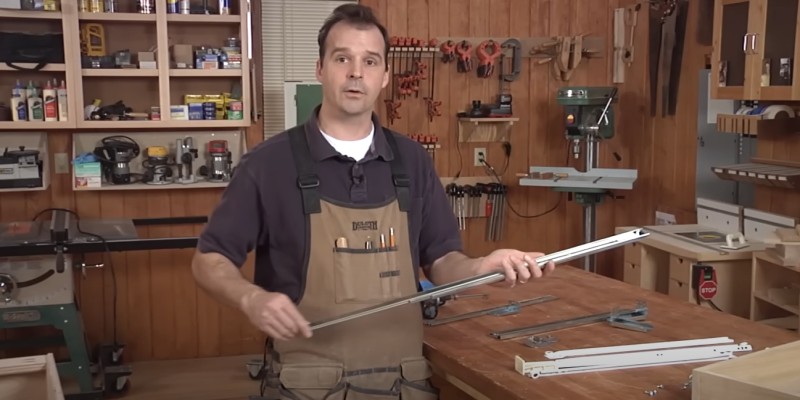
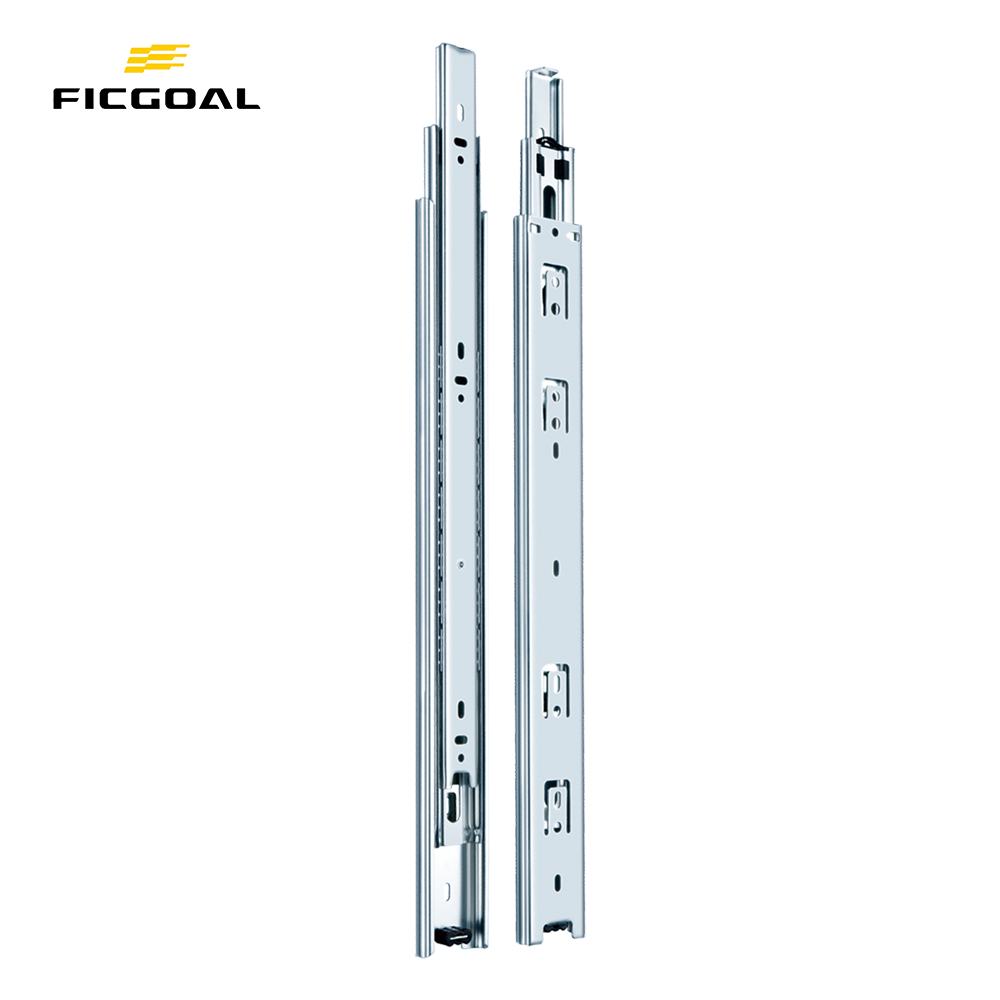
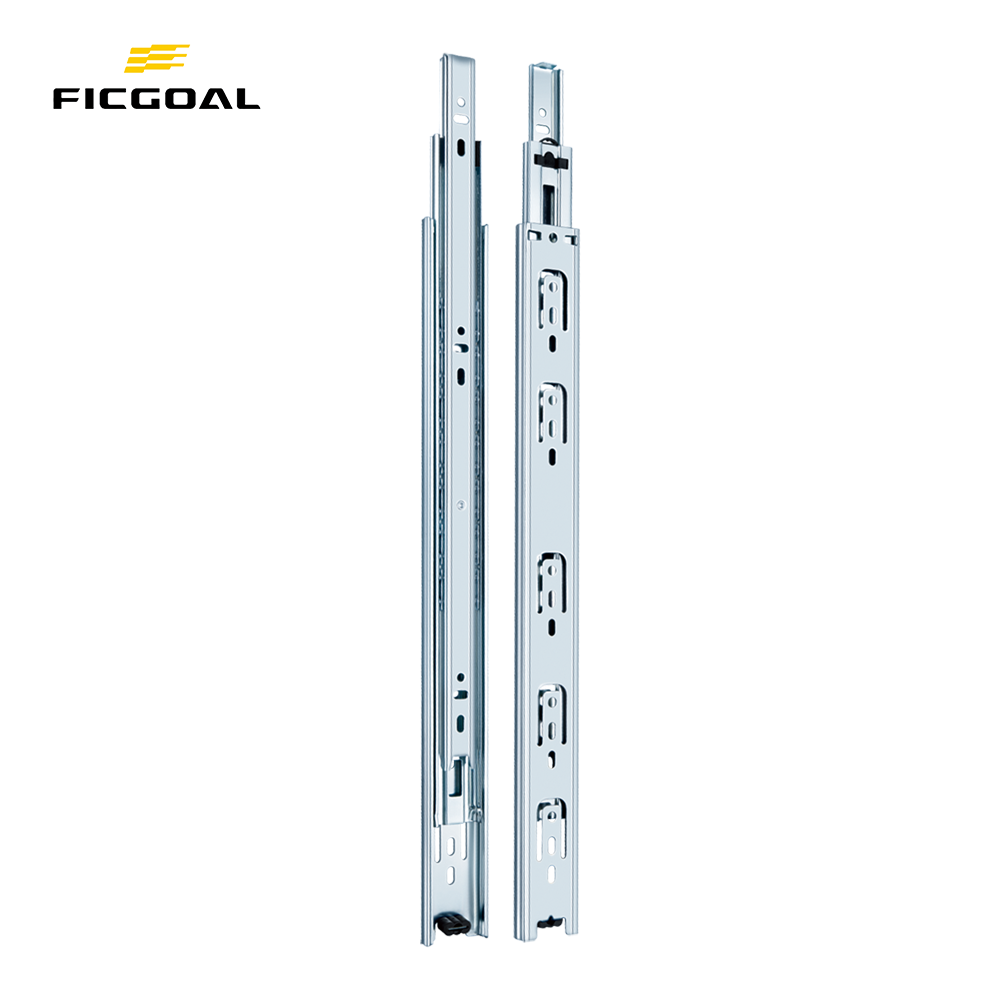
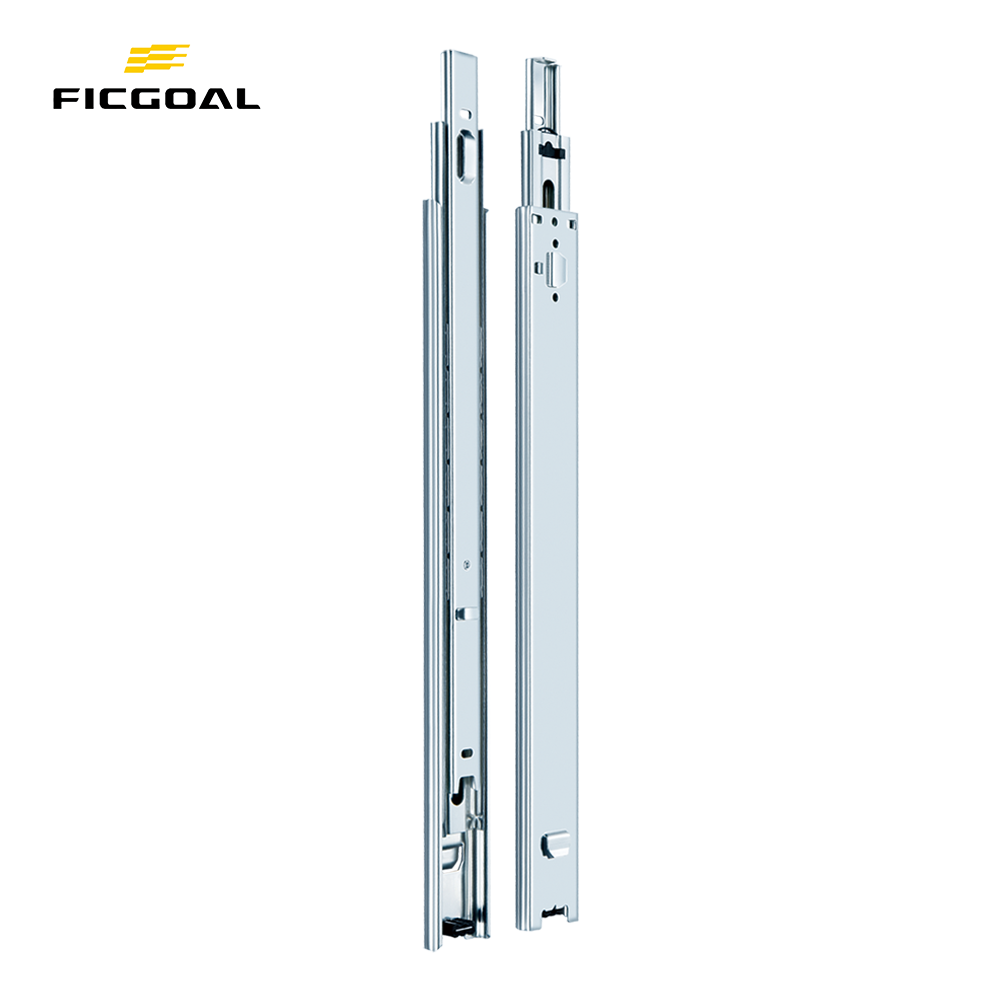
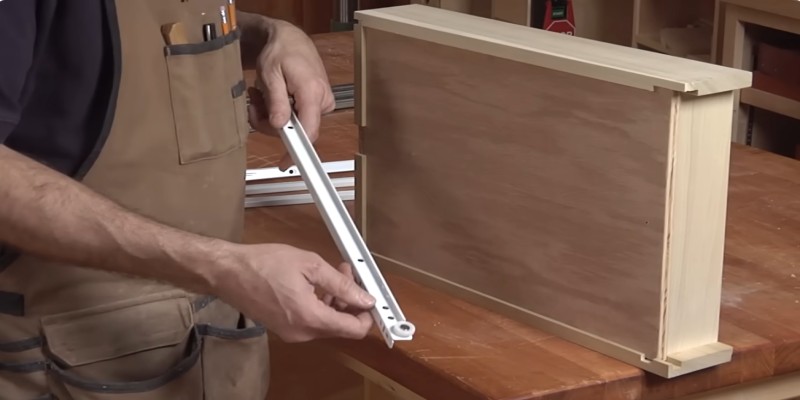
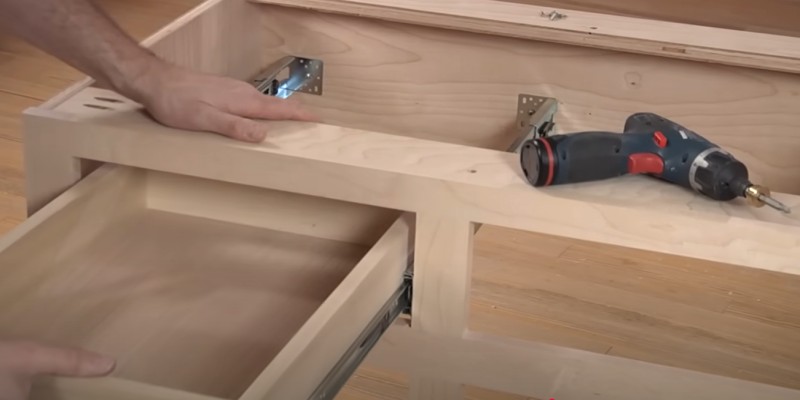
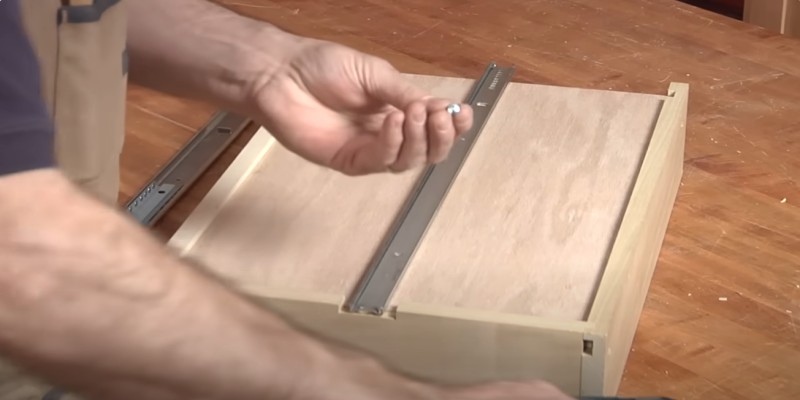
Epoxy-coated slides are the easiest pick for a budget cabinet upgrade—here’s how to fit them. First, remember: the wheel on epoxy-coated slides goes toward the drawer’s back, and the front part attaches to the cabinet. Keep the drawer track 1⁄32" back from the face-frame so it closes tight. Snap L-brackets onto the cabinet’s epoxy-coated slides, slide it in, level it, then drive one #8 screw through the horizontal slot (repeat opposite side). Pop the drawer in, loosen screws half a turn, wiggle until flush, retighten. Eight minutes—done with this part of your cabinet upgrade! Wrap-Up


